
A lash lift is a popular beauty treatment that enhances the natural curl of eyelashes.
It’s a low-maintenance option for people who want luscious, curled lashes without the daily hassle of using a lash curler or wearing false lashes.
But how do you perform a lash lift procedure?
Read on for a quick and easy step-by-step guide.
Step 1: Have the Consultation
Before starting the procedure, have a heart-to-heart chat with your client!
A consultation is a meeting between you and your client in which you discuss what they hope to achieve with the lash lift, any allergies or sensitivities they have, and their general expectations.
This is also the time to explain the process and answer any questions they may have. You want to make sure your client is fully informed and comfortable before proceeding with the procedure.
Step 2: Perform a Patch Test
It’s important to patch test any lash products before you use them if you want to avoid your client having an allergic reaction.
Patch testing involves applying a small amount of the product behind the ear or on the arm and leaving it for 24 hours to see if any redness, swelling, or irritation occurs. If there are no adverse reactions, you can proceed with the lash lift.
Step 3: Prep the Lashes
The next step in performing a lash lift is prepping your client’s natural lashes.
First, remove all eye makeup and residue from their lashes using an oil-free cleanser. You’ll also need to place pads underneath the eyes to protect the delicate skin, and a rod or shield on top of the eyelids to curl the lashes.
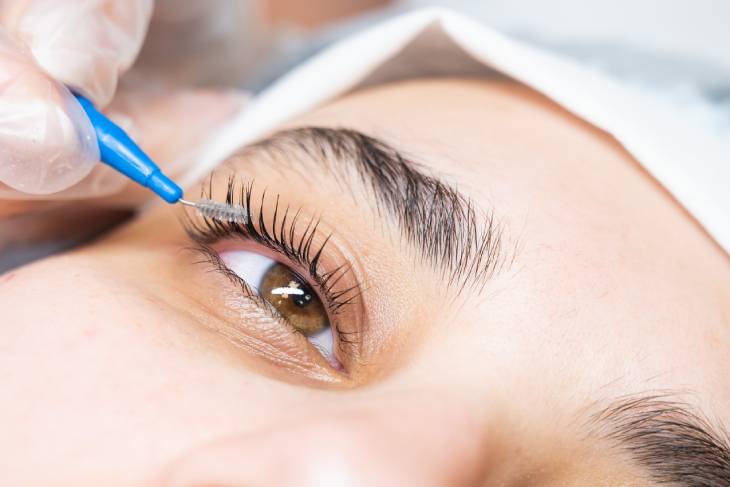
Next, brush the lashes upward onto the rod or shield, making sure they’re all separated and in place.
Step 4: Apply the Lifting Solution
Now it’s time to apply the lifting solution to your client’s lashes. This solution breaks down the bonds in the hair, allowing you to reshape and curl them.
Using a small brush, carefully apply the solution from the root to the tip of each lash. Leave it on for the recommended amount of time (usually five to 15 minutes).
Step 5: Remove and Cleanse
Once the processing time is up, remove the lifting solution with a damp cotton pad or swab. Then, use a gentle cleanser to lift away any residue from the lashes.
Finally, withdraw the rod or shield. You can also use a lash tint at this point if your client wants to add some color.
Step 6: Apply the Setting Solution
Next, you’ll apply the setting solution to lock in the new curl of your client’s lashes. This solution bonds the hair again and sets it in place.
Again, using a small brush, carefully coat each lash from root to tip and leave the solution on for the recommended time (usually five to 10 minutes).
Step 7: Remove and Cleanse Again
After the processing time is up, remove the setting solution with a damp cotton pad or swab and gently cleanse any residue from the lashes.
Step 8: Finish With a Nourishing Treatment
To complete the lash lift procedure, apply a nourishing treatment, such as a serum or oil, to the lashes to promote growth and keep them healthy.
Finally, after all your hard work performing a lash lift procedure step-by-step, you can show off the results.
Remove the pads from under your client’s eyes and let them admire their new, luscious, curled lashes in the mirror.
They’ll love their new look!